
First layer won't stick?
Find the failure class before changing settings. Ten minutes should identify the next controlled test—even when the final repair takes longer.
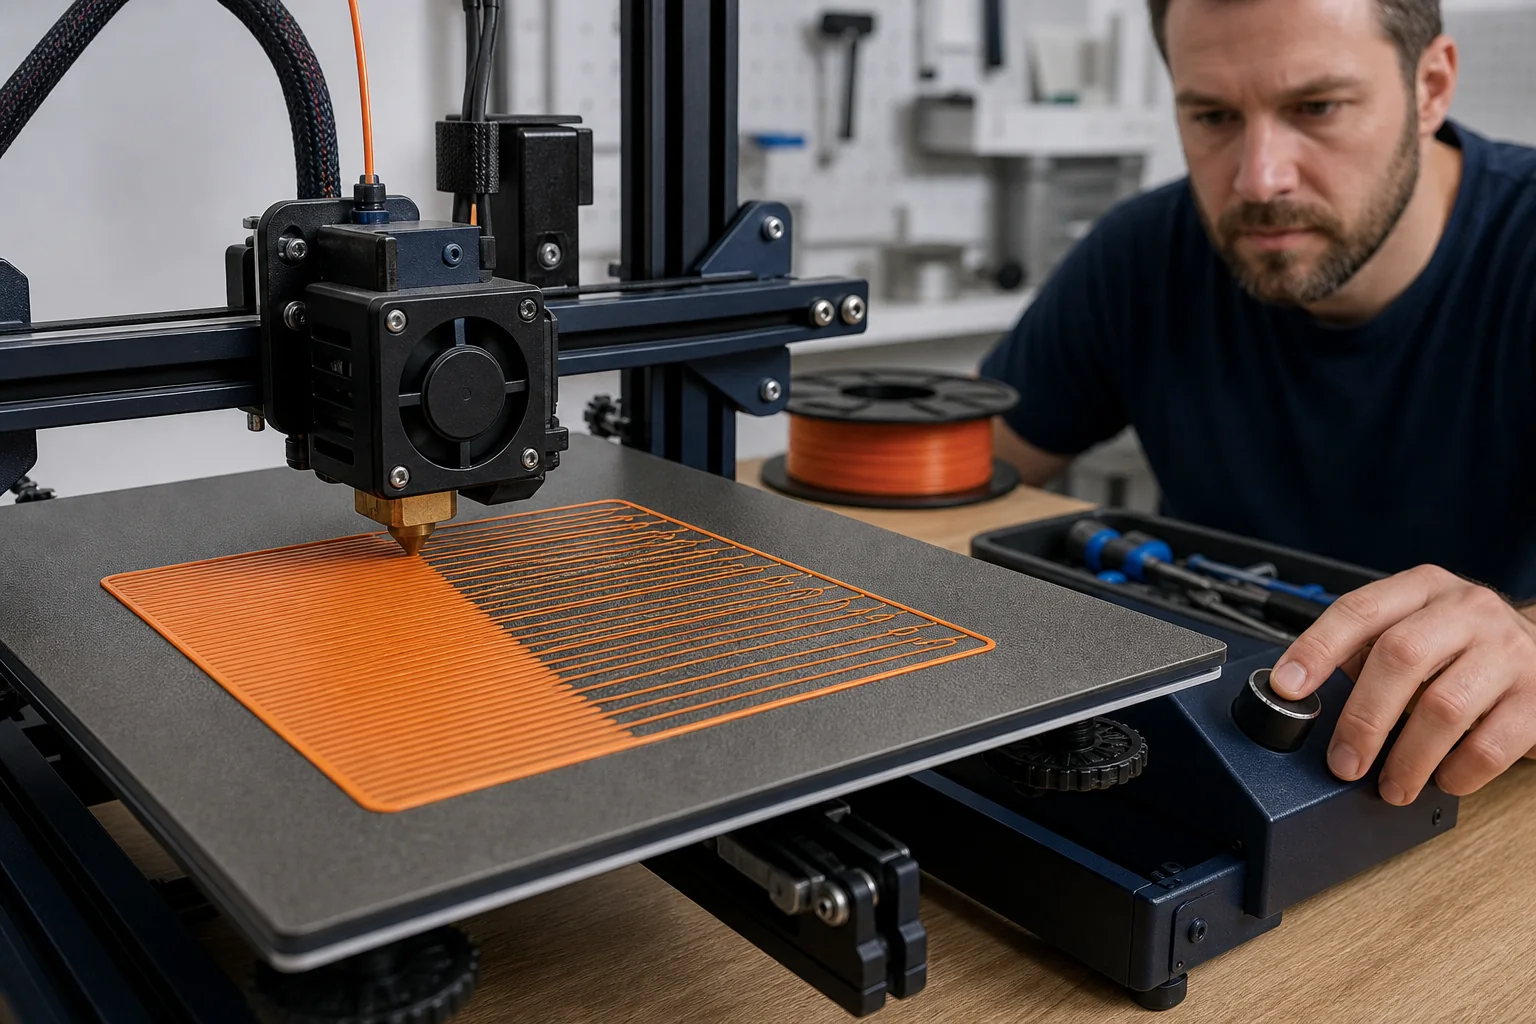
The quick answer
Pause the print and separate extrusion from adhesion. If no filament reaches the plate, investigate loading, nozzle condition, and extrusion first. If filament exits but will not hold, restore the correct printer–plate–material profile, prepare that exact surface according to its manufacturer, and run a one-layer test. Read the line shape before touching Z offset; if only one area fails, check plate seating and leveling or mesh.
This guide is for FDM/FFF filament printers. Resin first-layer failures require a different diagnosis.A 10-minute diagnosis.
- 0–2 min · Make it observable.Stop the failed job. Remove loose filament only when the printer's instructions say it is safe. Load the maker's default profile for the exact printer, nozzle, filament, and build surface, then use a simple first-layer test rather than the full model.
- 2–3 min · Confirm extrusion.Watch from a safe position. Does a continuous strand leave the nozzle? No strand, intermittent flow, clicking, or material curling onto the nozzle is an extrusion path problem—not proof that the bed needs more adhesive.
- 3–5 min · Check the surface.Confirm the plate is the intended type, correctly seated, undamaged, and free of old filament or fingerprints. Clean it only by the plate manufacturer's method and let any permitted cleaner fully evaporate before heating.
- 5–7 min · Read line shape.Round strands with gaps suggest insufficient contact. Transparent, heavily ridged, smeared, or missing lines suggest excessive contact or blocked flow. Use the printer's documented first-layer or Z-offset procedure in small steps.
- 7–9 min · Map the bed.If the centre works but one side fails, inspect plate seating, debris beneath a removable plate, bed tramming where applicable, and the printer's mesh or leveling procedure.
- 9–10 min · Pick one next test.Change only the most strongly supported variable. Record the profile, plate, material, and adjustment so the next result is evidence rather than another guess.
Do not continue a test if the nozzle scrapes the surface, the printer makes abnormal mechanical noise, the plate shifts, or loose filament begins collecting around the hotend. Follow the manufacturer's shutdown and inspection procedure.
What the first-layer lines are saying.
The nozzle may be too far from the surface, the plate may sit low in that area, or the extrusion width/profile may be wrong. Verify the profile before adjusting Z.
The first layer is continuous without deep ridges or see-through scraping. If the part later lifts at corners, move to material, cooling, draft, and geometry—not more squish.
The nozzle may be too close, restricting flow and dragging material. Avoid driving Z lower to solve a problem created by excessive contact.
Suspect seating, contamination, flatness, tramming, mesh, or mechanical alignment. A single global Z change can improve one area while making the other worse.
The illustrations are simplified patterns, not a numerical Z-offset gauge. Different nozzle sizes, layer heights, materials, and surfaces produce different-looking “correct” lines.
Use location to narrow the cause.
| What you see | More likely | First controlled check |
|---|---|---|
| No filament anywhere | Loading, partial or full clog, drive tension, wrong temperature profile, or a blocked nozzle path. | Use the printer's documented load/extrude test; do not diagnose bed adhesion until flow is continuous. |
| Filament curls onto nozzle | Nozzle contamination, excessive nozzle distance, or poor surface contact. | Stop safely; inspect the nozzle and surface according to the printer instructions. |
| Fails across the whole plate | Wrong profile or plate selection, unsuitable surface preparation, global Z/contact error, or incorrect temperature. | Return to known defaults for that printer, plate, and material; run a one-layer test. |
| Fails in one patch | Fingerprint or residue, debris under a removable plate, damage, poor plate seating, or local leveling/mesh error. | Cool as required, remove and inspect both sides of the plate, reinstall correctly, then re-run leveling. |
| First layer holds; corners lift later | Warping from material shrinkage, drafts, cooling, large geometry, or unsuitable surface/temperature combination. | Do not keep lowering Z. Check the material guide, enclosure/draft conditions, cooling, and brim guidance. |
| Works with one filament, fails with another | Material profile, moisture condition, plate compatibility, or required separation layer. | Use the filament and plate makers' combination-specific guidance before changing hardware. |
“Clean the bed” is incomplete advice.
Build surfaces are not interchangeable. Smooth PEI, textured or satin powder coat, engineering plates, glass with coatings, and manufacturer-specific sheets can allow different cleaners, temperatures, and adhesion or separation layers. Advice that is correct for one can damage another—or make a material bond too strongly.
Confirm the actual installed surface, not only the plate selected in the slicer. Check both sides if they differ.
PLA, PETG, ABS/ASA, TPU, nylon, and filled filaments do not share one universal surface recipe.
On some combinations glue improves release and protects the plate; on others it adds adhesion. It is not a universal cure.
Never generalize acetone, alcohol, detergent, abrasives, or paper-towel advice across surfaces.
Use the build-surface manufacturer's cleaning and material-compatibility instructions. If the surface cannot be positively identified, pause and identify it before applying a chemical or abrasive.
Do not use Z offset as a universal adhesion knob.
Z offset controls the relationship between the nozzle and the print surface on printers that expose that adjustment. Some printers establish contact automatically and use a different first-layer calibration workflow. Follow the exact printer procedure; do not copy another model's value or direction convention.
When adjustment is appropriate, use small documented steps and observe a fresh test area. Move toward the plate only when separated, round lines support that diagnosis. Move away when the nozzle scrapes, flow is restricted, or the layer is overly smeared. Stop before the nozzle can damage the surface.
If line quality changes across the bed, resolve plate seating, debris, tramming, mesh, or mechanical alignment before chasing one global Z value.
Temperature and speed come after identity.
Confirm printer, nozzle diameter, plate type, filament profile, first-layer height, and material before tuning. An incorrect profile can imitate several hardware problems at once. Start with the printer or filament maker's supported profile, then change one parameter within documented limits.
- Correct printer and nozzle profile
- Correct plate selected in the slicer
- Correct material profile and usable filament condition
- Recommended nozzle and bed temperature range
- Conservative first-layer speed from the supported profile
- Cooling behaviour appropriate to the material and printer
Large temperature jumps can hide the original cause, worsen dimensional accuracy, or make a part bond too aggressively. A slower first layer may help after profile, surface, extrusion, and contact are credible—but it cannot repair a clogged nozzle or badly seated plate.
Five tempting moves to avoid.
Temperature, Z, speed, flow, cleaner, and glue changed together produce a result you cannot interpret or repeat.
Excessive contact can restrict extrusion, damage a surface, and create the same missing-line symptom you were trying to fix.
On some plate–material combinations it is a release layer. The manufacturer decides its purpose.
A small first-layer patch is faster, safer to observe, and cheaper while variables are still being isolated.
Stop or pause through the documented controls and wait for safe access. Hotends, build plates, belts, lead screws, and moving carriages can injure hands or damage the machine.
References.
The lead photograph is AI-generated and labelled. Its calibration pattern illustrates a symptom class; it is not a dimensional reference. Printer-specific values and maintenance procedures must come from the manufacturer of the printer, plate, hotend, and filament in use.