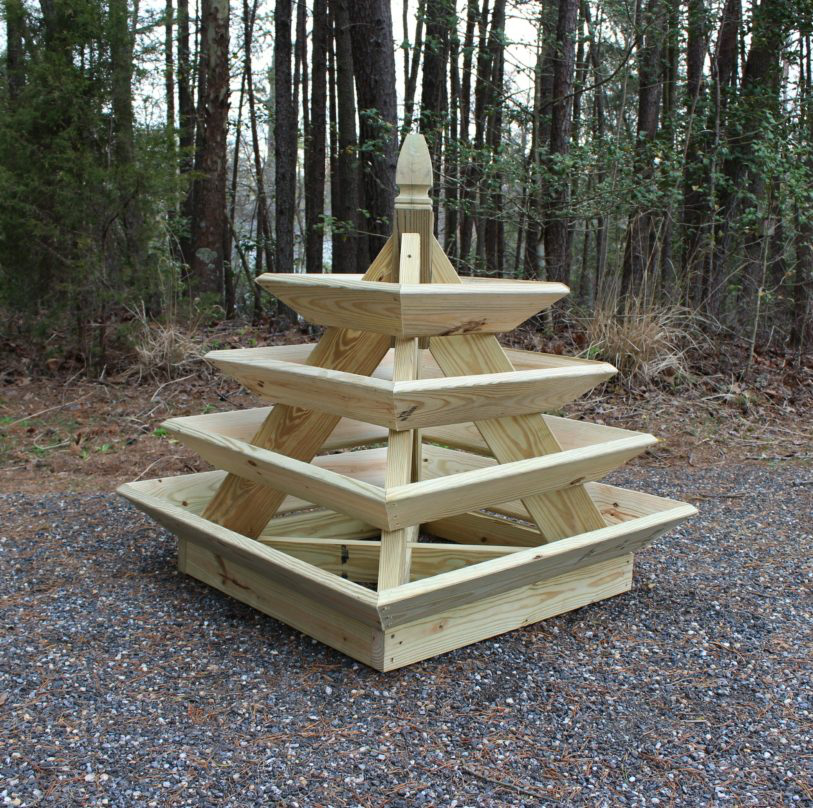
Outdoor Decorative Well (stacked octagon base with shingled roof)
Build a decorative outdoor well with a stacked octagon base, ledge, roof supports, shingled roof, ridge cap, gable lattice, and a hanging bucket/crank assembly per the step sequence provided.
Drawn by John MarcFOUNDING MAKER
Approved by Make It Use ItPublished Jul 21, 2026
What the build takes
- 2 in. x 4 in. x 8 ft. Pressure-Treated Lumber×12
- 3/4 in. (23/32 in.) Exterior Plywood, 4 ft. x 8 ft. Sheet×1
- Cedar Roof Shingles
- 1/4 in. Pressure-Treated Wood Lattice Strips×1
- 1 in. x 4 in. x 8 ft. Pressure-Treated Lumber×1
- 4 in. x 4 in. Pressure-Treated Post (or round fence post)×1
- 3/8 in. x 3-1/2 in. Galvanized Lag Screws×2
- 1/4 in.-20 x 4-1/2 in. Carriage or Hex Bolt×1
- 3/8 in. Flat Washers×3
- 1/4 in. Flat Washers×2
- 1/4 in.-20 Nylon Insert Lock Nut×1
- Construction Adhesive
- Brad Nails
- #8 x 2 in. Deck Screws
- #8 x 2-1/2 in. Deck Screws
- #8 x 3 in. Deck Screws
- Vinyl Outside Corner Post (siding trim)×1
- 5/8 in. or 3/4 in. Twisted Rope
- Fence Staples
- Wooden Bucket×1
- 2 in. Galvanized Nails OR #8 x 1-5/8 in. Deck Screws
- Hose Clamp×1
- Exterior Water Seal or Wood Stain
- hinge 2"×1
Vertical Hinge
- Circular Saw or Miter Saw
- Table Saw or Band Saw (set up to resaw)
- Drill / Driver
- Jig Saw (or suitable hand saw)
- Pneumatic Stapler and Nail Gun
- Drill Bits (pilot, 3/8", 1/4", 1-1/4", 3/4")
- Basic Hand Tools & Tape Measure
- Framing Square
- Clamps
- Utility Knife or Shears
- Wrench or Socket Set
- Drill Press
- Paintbrush or Sprayer
BUY LINKS MAY BE AFFILIATE LINKS — THE CREATOR MAY EARN A COMMISSION AT NO EXTRA COST TO YOU.
The build, step by step
Cut the Base Ring Boards
Cut 48 sections of pressure-treated 2 x 4 lumber. Each piece is 11 3/4" long, with a 22.5° angle cut at each end. Use 8 pieces to build each octagon ring (6 rings total).
Assemble Octagon Rings (repeat to build six)
Assemble 8 cut pieces into one octagon ring using a pneumatic stapler or nail gun (or glue and screws). Repeat Step 2 five more times until you have 6 assembled octagon rings.
Stack and Offset-Stack the Rings
🔒 Unlocks with the planDrill Pilot Holes at Each Corner
🔒 Unlocks with the planAttach the Ledge Ring to the Base
🔒 Unlocks with the planCut the Roof Support Posts
🔒 Unlocks with the planBuild the Roof Peak Triangles (Qty 2)
🔒 Unlocks with the planDrill Mounting Pilot Holes in the Arc Supports
🔒 Unlocks with the planAttach the Arc Side Supports
🔒 Unlocks with the planStand and Fasten the Roof Supports to the Base
🔒 Unlocks with the planCut and Fasten the Roof Panels
🔒 Unlocks with the planApply Cedar Shingles (first row)
🔒 Unlocks with the planContinue Shingling to Five Rows
🔒 Unlocks with the planTrim Shingle Overhangs at the Peak
🔒 Unlocks with the planInstall the Roof Edge Trim
🔒 Unlocks with the planMake and Install the Vinyl Ridge Cap
🔒 Unlocks with the planCover the Gable Ends with Lattice
🔒 Unlocks with the planDrill the Rope Beam Holes and Cut the Beam
🔒 Unlocks with the planBuild (optional) Decorative Crank Handle and Assemble
🔒 Unlocks with the planHang the Bucket
🔒 Unlocks with the planFinish and Protect the Wood
🔒 Unlocks with the planSafety & disclaimers
- wear eye protection
- keep fingers well clear of the blade path on every cut
- keep your free hand away from the discharge point when using pneumatic staplers or nail guns
- No specific safety concern beyond standard shop practice.
- start slowly to establish the hole before applying full pressure; keep your free hand clear of the bit's path
- Long boards can rock or shift during cutting; secure both ends before cutting
- clamp the joint before driving fasteners for toe-nailing
- clamp the stack securely before drilling stacked boards
- curved cuts need a slower feed rate; keep fingers clear of the cutting line
- use a clamp or a helper to hold tall supports steady until fully fastened
- support plywood fully along the cut line so the blade doesn't bind
- have a helper support large roof panels and maintain three points of contact on ladders
- keep your non-dominant hand out of the fastening zone when using nail guns or staplers
- maintain three points of contact on ladders and avoid overreaching near the roof peak
- keep the saw's shoe flat and maintain a firm balanced stance when cutting sloped, shingled surfaces
- use a push stick and keep hands back from the blade when resawing to 1/4" thickness
- maintain ladder safety precautions when fastening at roof height
- cut with the blade moving away from your body when trimming vinyl
- maintain ladder safety precautions when working at the roof peak
- maintain three points of contact and avoid overreaching while working at roof height
- back the workpiece with scrap wood to prevent tear-out when drilling through posts
- clamp the handle blank when countersinking to prevent the piece from spinning
- keep fingers clear of the gap between the handle and the post while turning it
- keep fingers clear of the gap between the handle and the post while turning it (pinch point)
- follow ventilation and skin-contact precautions on the sealant or stain's product label
Questions builders ask
How many 2x4s are listed in the materials table?
The materials table lists 12 units of 2 in. x 4 in. x 8 ft. pressure-treated lumber.
What size are the roof panels?
One 4 ft. x 8 ft. sheet of 3/4" exterior plywood is used and cut into two roof panels.
What fasteners are recommended for the ledge-to-base connection?
The plan specifies #8 x 3" deck screws for fastening the ledge to the base.
Is the crank handle required?
No — the decorative crank handle is optional; related fasteners are listed only if building it.