
Rabbet vs. dado: which joint goes where?
Stop choosing by name. The edge, face, and direction of the cut already tell you which joint you need.
The quick answer
A rabbet is an open-sided recess cut at an edge or end. A dado is a three-sided channel cut across the grain—or across the width of a panel—within its face. A groove is the same basic channel running with the grain or length. In a cabinet, backs often land in rabbets; fixed shelves and dividers often land in dados; drawer bottoms and door panels often land in grooves.
These joints often work together. “Rabbet versus dado” is a location decision, not a contest.The geometry decides the name.
If one side of the recess disappears off the edge, call it a rabbet. If material remains on both sides of the recess, it is a dado or groove.
Put each joint where its geometry helps.
A recess along the rear edge locates the back, hides its edge, and can help square the case during assembly.
A channel across the cabinet side locates the shelf and gives it bearing against vertical load.
The channel establishes position and resists the divider sliding sideways while the box is assembled.
A narrow channel along the drawer sides and front captures the bottom while keeping the fasteners out of sight.
An edge recess can locate a mating panel and conceal its end, but the joint may still need glue, fasteners, or another reinforcement specified by the plan.
Shelf pins, standards, or another adjustable system preserve movement. A dado turns the shelf position into a permanent design decision.
How the decisions differ.
| Question | Rabbet | Dado |
|---|---|---|
| Where cut? | At an edge or end. | Within the face of a part. |
| Typical cabinet role | Backs, outer corners, tops, bottoms, and overlapping edges. | Fixed shelves, cabinet bottoms, dividers, and drawer runners. |
| Layout reference | Reference face plus the outside edge. | Reference face plus a measured line or story stick within the panel. |
| Visible end | Can conceal the mating panel's edge from one viewing direction. | A through dado may remain visible at the front edge; a stopped dado hides it but adds setup and cleanup. |
| Assembly help | Provides a shoulder that locates an edge. | Captures the mating part on two sides and fixes its position. |
| Main fit risk | Incorrect width or depth can leave the case proud, recessed, or thin at the edge. | A loose channel allows movement; an over-tight one can prevent assembly or damage plywood faces. |
Size the joint from the material—not the shelf label.
Sheet goods sold under the same nominal thickness can vary by product and manufacturing tolerance. A bit labelled for a nominal size may cut a groove that is too wide or too narrow for the panel in front of you. Measure, but do not let the number replace a test fit.
- Choose a representative offcut.Use a clean piece from the same sheet and orientation as the mating shelf, divider, or back.
- Mark reference faces.Keep every setup and test cut referenced from the same faces so small thickness differences do not compound.
- Make the joint in scrap.Reproduce the intended tool, direction, depth, and number of passes. A different scrap species is not an equivalent test.
- Dry-fit by hand.The part should seat without hammering and should not rattle. Leave room for the assembly sequence and adhesive rather than chasing a press fit.
- Lock the setup, then cut pairs.Cut matching cabinet sides before changing the fence, stop, guide, or jig so shelves align across the case.
Hammering can delaminate a face veneer, bruise an edge, or leave no practical path for glue and final assembly. Return to the test setup and remove a controlled amount.
Choose the setup that controls the part.
A hand-held router and straight guide can bring the tool to a large cabinet side, making it a practical way to cut dados in panels that are awkward to move. A router table favours smaller parts that can be controlled safely against its fence. A table saw can make repeatable through cuts when the saw, cutter, insert, fence, work support, and guarding arrangement are designed for the operation.
Support the panel flat and use a proven straightedge or dado jig referenced from a known edge.
A stop-based jig, router table, or documented table-saw setup can reduce layout drift after the first verified test cut.
A plunge router and clear stop points can create a stopped dado without the round-over or cleanup problem created by some other methods.
Back up the cut, consider the feed direction and surface veneer, and verify tear-out control on the actual material.
Deeper is not automatically stronger.
A recess removes material from the part that carries it. The useful depth depends on panel thickness, core quality, load direction, joint design, adhesive, fasteners, and how close the cut sits to an edge. Copying a universal fraction from a diagram is not a substitute for the project specification.
For a loaded cabinet, the joint is only one part of the structure. Shelf span, front stiffeners, back attachment, case squareness, wall anchoring, and fastener edge distance can matter more than another millimetre of dado depth.
Use the shallowest joint that provides reliable location and bearing for the documented load, while preserving enough sound material in the receiving panel. If the project is structural, overhead, wall-hung, or unusually loaded, use a validated plan or qualified advice.
Make the setup boring.
- Follow the exact router, saw, cutter, insert, and accessory instructions.
- Disconnect power before cutter changes or adjustments near a blade or bit.
- Secure large panels so the tool cannot tip, rock, or pull the guide out of line.
- Keep hands clear; use guards, push devices, featherboards, and hold-downs where specified.
- Control dust at the source and use suitable eye and hearing protection.
- Stop after burning, chatter, unusual noise, guide movement, or a cut that needs force.
References.
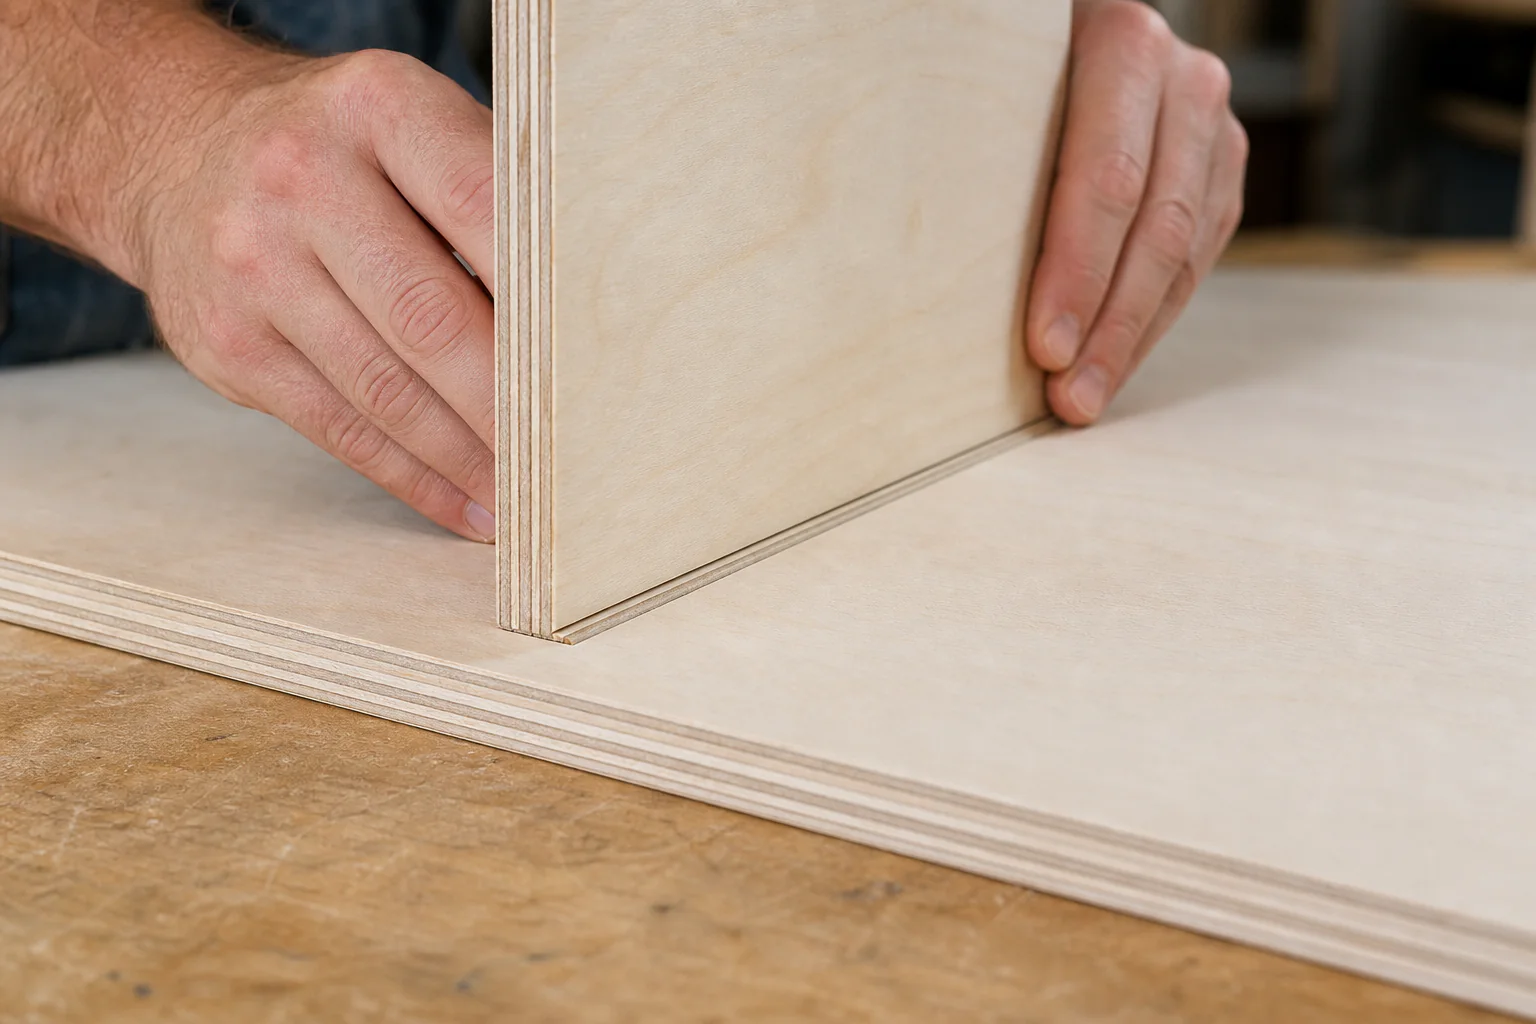
The lead photograph is AI-generated and labelled. Because generated imagery is not a dimensioned drawing, the article's joint definitions and cabinet mapping rely on the reviewed schematic and cited technique references—not on inferred details in the photograph.