
Track saw vs. table saw for sheet goods.
Choose the workflow, not the winner: sheet control, repeatability, space, and the cuts waiting on your next project.
The quick answer
Start with a track saw if your recurring problem is turning a full sheet into safe, manageable parts. Start with a table saw if your stock is already manageable and your recurring problem is making the same width again and again. If you eventually own both, break down oversize sheets on a supported surface, then use the table saw only where its fence and repeatability add value.
A circular saw plus a proven straightedge is the budget third option—not a consolation prize.At a glance.
| Question | Track saw | Table saw |
|---|---|---|
| Full 4×8 sheets | Tool moves across a stationary, fully supported sheet. | You must control and support the entire sheet while feeding it past the blade and fence. |
| Repeatable widths | Accurate, but every rail position must be measured or referenced. | The fence makes repeated parallel rips fast once the setup is verified. |
| Narrow stock | Awkward when the rail cannot sit securely on the work. | Usually the more practical workflow when the cut and guarding arrangement are appropriate. |
| Space | Packs away; needs a flat support surface and room for the rail. | Consumes permanent floor space plus infeed, outfeed, and side clearance. |
| Portability | Designed to travel to the work. | Job-site models move, but the support system still has to travel too. |
| Joinery | Primarily straight cutting and trimming. | Can support additional operations when the saw, accessories, guarding, and manual permit them. |
| Best first buyer | Small-shop or solo builder starting from full sheets. | Builder working from manageable blanks who values repetition and batch work. |
Capability varies by model. Confirm cut depth, rail compatibility, dust collection, dado-stack compatibility, fence capacity, and required guarding in the exact tool manual before buying.
A full sheet is a handling problem first.
A cabinet sheet is large enough that the quality of the cut can become secondary to keeping the material stable. On a table saw, the operator moves the sheet. That demands flat support before, during, and after the blade, plus enough side clearance to prevent the work from rotating into the cut.
With a track saw, the tool moves instead. That can be a major advantage for one-person breakdown, but it does not remove the need for support. Both sides of the cut must remain controlled; a narrow unsupported offcut can drop, close the kerf, or pull fibres from the finished edge.
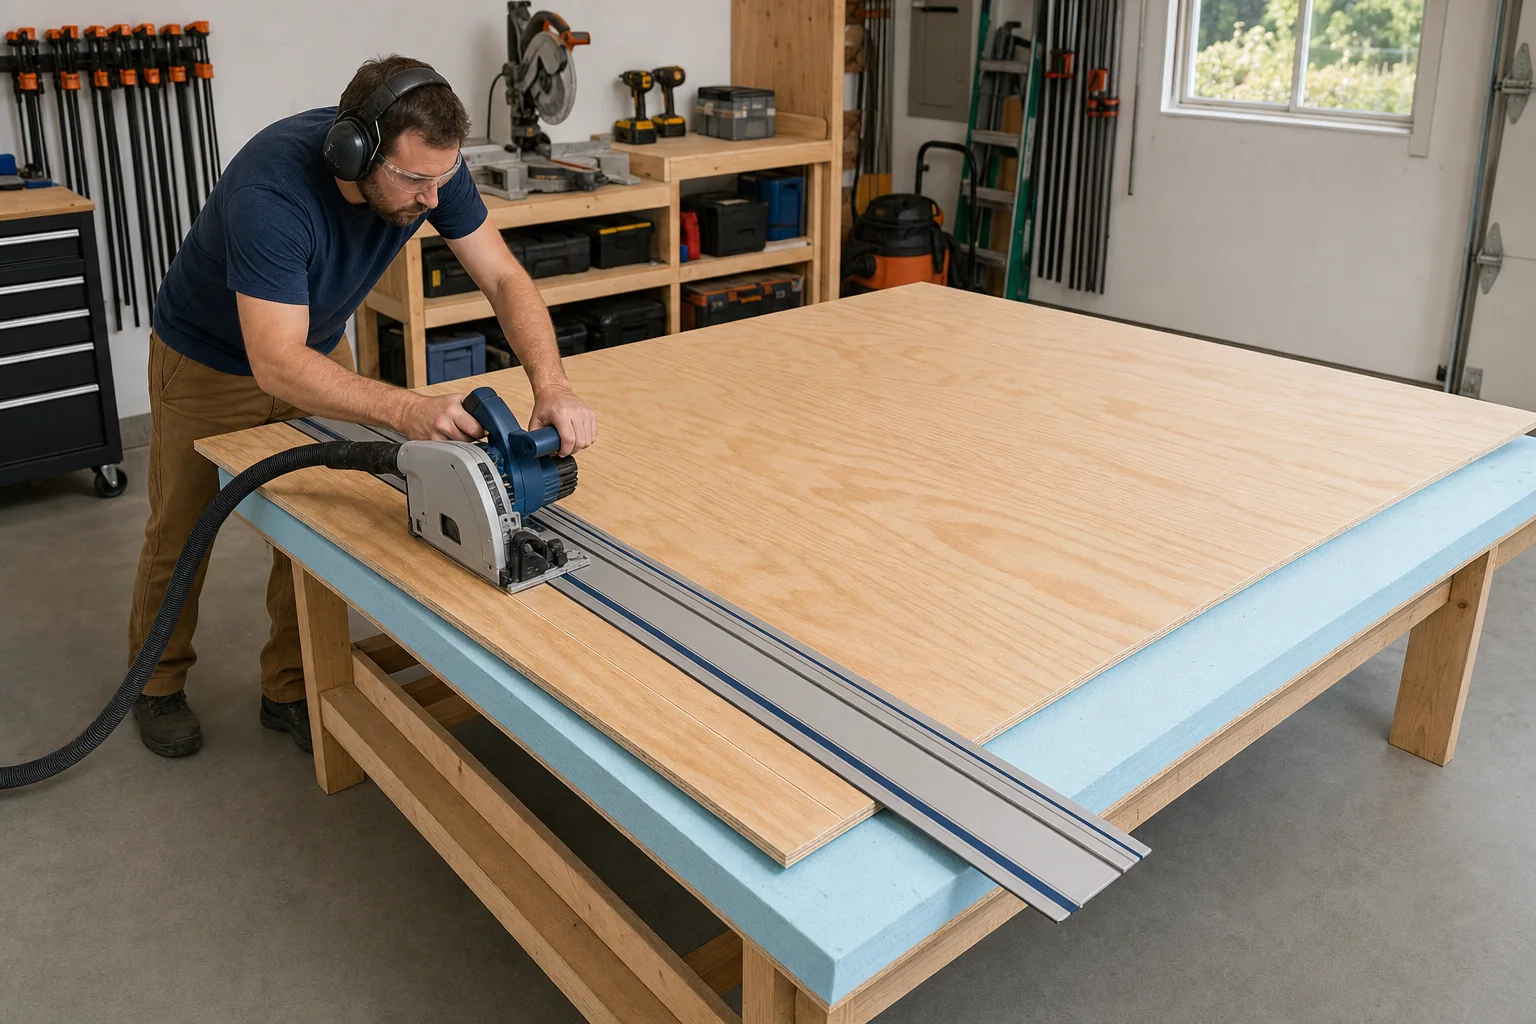
Use a support method allowed by the tool and material manufacturer. A sacrificial sheet or closely spaced support system should keep the panel flat without creating a pinch point or letting either piece fall as the cut finishes.
Buy for the cut you make every week.
It stores compactly and lets the panel stay on a low support surface instead of forcing a large sheet through a stationary machine.
If sheets arrive pre-cut or you can safely reduce them elsewhere, a verified fence setting makes repeated widths efficient.
Trimming panels, doors, flooring, and fitted parts at the work location is its natural territory.
It handles a broader range of manageable rip cuts, provided every operation follows the saw manual and uses the required guarding.
Use the track saw to turn a full sheet into slightly oversize, controllable blanks. Use the table-saw fence for the final parallel edge and repeated width only when that second operation adds accuracy or speed.
The cabinet-shop handoff.
- Map the sheet.Mark finished faces, grain direction, reference edges, part labels, and a realistic kerf allowance before the first cut.
- Support the full panel.Place the sheet on a flat sacrificial surface or the support arrangement specified for the tool. Clear the cord and extraction hose from the travel path.
- Create manageable blanks.Make breakdown cuts to release groups of parts. Leave a small, deliberate finishing allowance only if a second operation is planned.
- Establish one reference edge.Verify that the first finished edge is straight and identify it. Every later measurement should reference a known edge, not accumulating cuts.
- Repeat only where useful.Move a manageable blank to the table saw for repeated widths, or reposition the rail from a story stick or parallel guide. Do not add a machine step merely because the machine is available.
A compatible circular saw, a reliable straightedge guide, a suitable fine-finish blade, and full sheet support can produce accurate cabinet blanks. The trade-off is setup time and fewer integrated features—not automatic inaccuracy.
Avoid the false replacement story.
A track saw is not a comfortable answer for every narrow strip, small loose part, or repeated production width. The rail needs stable bearing area, and the work must be secured. A table saw is not automatically the efficient answer for an unwieldy sheet; a large rip capacity on the box does not create floor space, outfeed support, or a second pair of hands.
Cut quality is also not owned by either platform. A sharp, suitable blade, correct setup, feed rate, support, zero-clearance or splinter-control features, and the orientation of the finished face all contribute. Test the exact material on scrap before committing a visible panel.
The safety systems stay on the tool.
A table-saw riving knife can reduce some kickback scenarios, and a blade guard reduces exposure during compatible through-cuts; neither makes contact impossible. Keep the guard, riving knife or splitter, and anti-kickback components installed whenever the manual calls for them. Do not invent an operation that requires defeating the tool's safety design.
- Read the exact saw and blade instructions before changing setup or making a new cut.
- Wear appropriate eye and hearing protection; control dust at the source.
- Disconnect power or remove the battery before blade changes, cleaning, or adjustments near the blade.
- Keep hands outside the documented danger area and use the manufacturer's push devices where required.
- Stand out of the likely kickback path and keep bystanders clear.
- Stop if the stock rocks, the rail shifts, the cut closes, or the feed needs force.
Make the call with four answers.
Full sheets favour a mobile cutting system; manageable blanks make a stationary saw more practical.
Frequent batches make a fence or a repeatable rail accessory more valuable.
Measure infeed, outfeed, side clearance, rail length, support area, and storage—not only the machine footprint.
List the next three projects and count their operations. Buy against that list instead of an imagined future shop.
References.
The lead photograph is AI-generated and labelled as such. It was reviewed for the support, guarding, dust-extraction, and operator-position details visible in the image. It is editorial context—not a substitute for the instructions supplied with your saw.